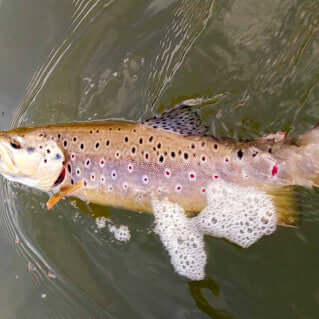


Some of my earliest fly fishing in the late 1960s was for the grayling of the Yorkshire Rivers. Their beauty, wildness & unpredictability make them my favourite fish. Whilst much of my grayling fishing is done on small becks & my local chalk stream, I do occasionally fish bigger rivers in the UK & Europe.

Winter Grayling
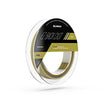
In winter conditions I often opt for French / Euro / Czech nymphing with a 2 or 3 weight rod from 10 to 12’ long teamed up with a micro-nymph line to which is attached 12’ from the butt of a French leader tapering from 0.5mm to 0.3mm, then 18” of bicoloured copolymer indicator (0.3mm) that has been run between thumb nail & forefinger to give it an open twist (not as tight as a Curly Whirly indicator). The final bit is a tippet of 0.13mm, 1.5 to 2x the water’s depth. I often fish a single weighted nymph/bug where club rules only allow a single fly.
However, where possible I fish 2 flies with a heavy point fly & a smaller lighter fly on a dropper about 18” above. It’s amazing how often a size 18 or 20 nymph on the dropper out fishes the point fly making me wonder is it the size or the increased mobility that appeals to the fish? On my local chalk stream there have been many instances when I’ve watched big grayling studiously ignore big flies only to succumb to a size 20 to 24 nymph or midge pupa.

Tenkara
Tenkara is my preferred technique in waters where I can wade close enough to the fish & where high flows & big fish do not risk breakages. My Tenkara set up involves a Hi-vis Orange, 0.285mm Fluorocarbon line 5’ shorter than the rod to which is attached about 5’ of tippet. If light conditions are poor I’ll sometimes attach a small cylinder of bright yellow or pink indicator foam to the junction between fluorocarbon & tippet.
With both set ups I cast upstream at about 45 degrees & as I track the rod, keeping light tension on the line I hold the line & indicator off the water to minimise drag from the faster surface water, watching the line end or indicator for any slight sign of a take. Once the flies are well downstream, allowing them to finally lift with the current, I flick them back upstream on a slightly different line.
Many fish are caught during the lower half of the drift, particularly as the flies start to lift. Fly-weight is critical as the fish are usually close to the riverbed & I constantly change flies if I’m not occasionally tapping bottom.

Both the above set ups give me the option to quickly change to a dry fly if the opportunity arises such as a brief February or early March hatch of Large Dark Olives. It only takes seconds to remove the nymphs/bugs & attach a size 18 CdC IOBO Humpy or Shuttlecock. Alternatively sometimes at dusk, even on a cold day, tiny Midges return to the water to egg-lay & a size 24 CdC Midge can tempt a riser or two.
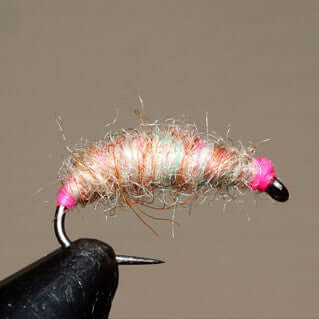
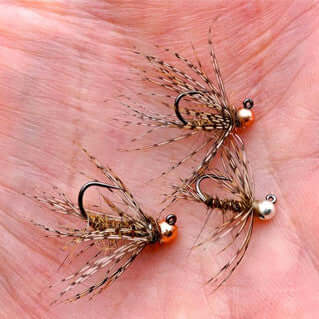
At one time I only fished 3 or 4 subsurface grayling patterns, believing that presentation was 99% of the game but sight-fishing for chalk stream grayling has taught me that there are times when the fish can be very fussy about fly choice. I now carry a range of flies, my favourites being Shrimps (mainly pinkish & orange), Bead-head Partridge & Hare’s Ear Spiders, Utah Killer Bugs (orange & pink), Squirmy Worms (red & pink) & size 18 or 20 Bead-head Nymphs (black & pink beads).