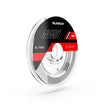
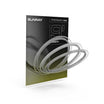
To whip a loop you will need;
- Bobbin holder plus very fine thread - ghost thread, spiderweb or similar
- Scissors
- A short length of thread to pull the whip finish through
- UV cure resin (or 2-3 coats of varnish if time permits)
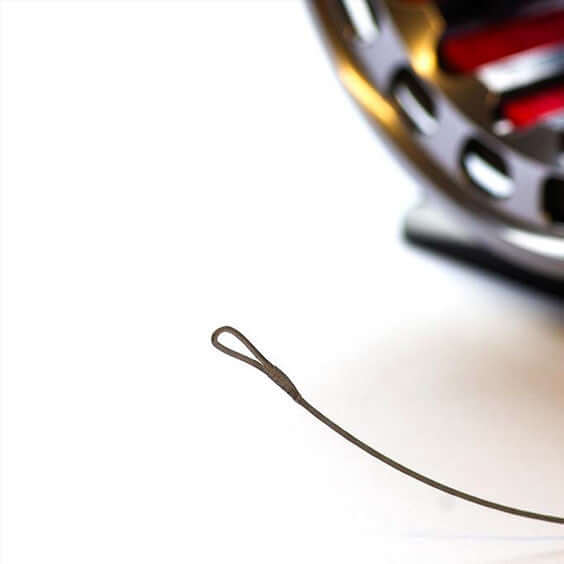
1. Fold a short loop in the end of the line between finger and thumb and make a few turns of thread to initially hold the loop.

2. Trim off the excess tag of line to approximately 5mm. It helps if you cut at an oblique angle so the step down is more gradual than the sudden step created by cutting off square.

3. Continue to wrap the thread to build up a compact whipping.

4. Once you are happy with the number of thread wraps, catch in a short looped piece of tying thread (normally the same thread you are already using). This will be used to pull the tag end of the tying thread back under the whippings to finish off.

5. Cut the bobbin holder free and let it drop (don't let go of the whipping thread!). Poke the tag end through the thread loop. Pull that loop back though, which drags the tag back under the previous turns of thread. Trim off the waste.

6. Apply a tiny drop of UV cure resin and using a fine dubbing needle, ensure it is evenly and thinly spread around the full surface of the whipping.

7. A UV torch can now be used to set the resin in seconds.

Attach either a leader for dry fly or an indicator for nymph fishing to the whipped loop.


