By David Southall
For me experimentation in fly-tying is one of the fascinations of the art of fly-fishing. As a youth, in the 1960s, my angling hero was (& still is!) the late Richard (Dick) Walker. His approach was so logical; find the fish, approach stealthily & use the right bait with the correct presentation. Failure of any one of these components means failure to catch fish. In this Blog I am concerned with the right ‘bait’ (fly) and its’ presentation.
It all started many winters ago, at one of my local small still-water trout fisheries, Star Carr Lake at Brandesburton, on a weekend when the rivers were too high and coloured for my favoured species, the grayling. It was cold and the rainbows were likely to be deep. Remembering Dick Walker’s philosophy of caricaturing the natural organism being imitated and using some sort of bright target spot, I had decided to tie up some weighty, bright red buzzers, hoping they would quickly sink to the correct depth and would be easily visible to the fish in the low light and slightly murky water. Their tying only involved five materials, black tungsten beads for the ‘head’ and to give weight, medium red holographic tinsel for the ‘body’, medium red wire as a rib to give segmentation and weight, and red thread, all coated with Hard as Nails varnish. The result was a very heavy, slim, fast sinking fly, with the holographic tinsel exaggerating the natural bloodworm’s red colour and giving the impression of bright translucency thanks to its reflective properties.
Their first trial was on November the 9th 2003. It was windy and bright and was warming up nicely after a cold night. There was no surface activity so I moved to a swim, which dropped off steeply from marginal weed beds into 12’ of water. My set up was two size 16 red holographic buzzers, tied with 2mm beads, set 3’ and 6’ below a small, buoyant indicator. Keeping well back from the edge I cast 6’ from the margins watching the leader as the flies sank. This was soon followed by a cast 9’ out which was allowed to settle and then gently swing into the edge with the drift. The third cast was 12’ out with the flies set at 6 and 9’ depth. As they sank I noticed the leader pull down a bit faster and on raising the rod a heavy fish set off for the middle of the lake. My 10’ #5 rod took on a dramatic curve as I applied as much pressure as I dared on my 5lb, 5x, tippet. The fish took out all my fly line and 20 yards of backing on this first run. Finally, after several long runs, a superbly conditioned 7lb 2oz rainbow was netted. The brief, two hour, session ended with seven more rainbows and four brownies netted; a good start for the new fly! The next day I returned, hoping for a repeat performance. It was a bright afternoon, with a light westerly breeze and a pleasant eleven degrees C. There was, once gain, no surface activity, so I fished the red buzzers fairly deeply, altering the depth till I contacted fish. In three hours eight rainbows, two blues, one brownie and a small roach approved of the ‘new’ fly.
It was then ‘forgotten’ for a while as the rivers became fishable and grayling, once again, took priority. Small dark grey klinkhåmers, tungsten bead hare’s ear nymphs and shrimps became the flies of the day. However, by the fourth of January 2004, conditions had changed. A series of frosts had made the grayling dour. They would no longer rise to the dry fly: they wouldn’t even lift off the bottom to intercept a nymph or shrimp being twitched up to induce a take. They were laid in the deeper troughs and pockets, ‘fixed’ to the bottom. Fortunately I had read in the Grayling Society magazine of several successful bloodworm imitations and so immediately thought of my fast sinking red buzzer/bloodworm. The water on the Costa Beck was quite deep in places and I alternated between size 12 buzzers with 2mm tungsten beads and size 10s with 3mm beads. Out of fifteen grayling caught in the four hours session twelve fell to the red holographic buzzer. The other three were from shallower runs and they took a leaded shrimp. Further success was achieved on Pickering Beck, Oxfolds Beck, Pexton Pond, the Yorkshire Derwent and Driffield Beck, plus Star Carr lake. Between November 2003 and early April 2004 it accounted for 67 rainbows, 11 blue trout, 5 still water brownies and 29 grayling, plus numerous out of season river brownies. Since then it has caught many more grayling and trout from a wide range of waters. It is not, however, a ‘universal answer’, but it solves the problem of getting a fly deep, thanks to its weight and super slim, uncluttered profile and the fish think it looks good to eat. An experimental, green holographic version has also worked well in still waters.
Nevertheless it is relatively ineffective on my closest still water, Wansford Lake, where the stocked trout and isolated wild grayling feed largely on really tiny buzzers; there I fish a size 24 to 30 buzzer, with a 1.5mm black brass bead head on the size 24s and a body of 0.09mm diameter wire coated with UV resin, whilst on size 26 to 30 flies the head is black 0.09mm wire.
Much of the success of many imitative flies is not just that they are good visual imitations/caricatures/impressions of the natural food, but also that they can be presented in an effective manner. This is the essence of good fly design. Such patterns include the Klinkhåmers and CdC shuttlecock buzzers with their dipping abdomens making them perfect emergers, paraloop dry flies which lay flush in the surface like spent spinners or trapped duns, bead head nymphs to fish deep, bass and blue gill poppers for these surface feeders in the States, Oliver Edward’s peeping caddis and a host of others too numerous to mention. That is also true of this pattern. There is nothing original about its design; it is just a combination of features from similar patterns that combine to make a fly which sinks fast and catches fish.
Tying Instructions
- Slide a suitable sized black tungsten bead of 2 to 4mm (3/32 to 5/32”), or lighter brass bead, onto a grub hook (either heavy, or light wire) sizes 16 to 8.
- Wind red thread on behind the bead.
- Tie in medium red holographic tinsel and medium red wire (thin for sizes 14 and 16), just behind the bead.
- Whilst holding wire and tinsel along the top of the hook overlay with red thread till about half way round the bend. Then neatly wind the thread back towards the eye.
- Wind the red holographic tinsel up to the bead and tie in.
- Over wrap with open turns of red wire and tie in behind the bead.
- Fill any gaps behind the bead with tying thread wraps and whip finish behind the bead.
- Coat with 2 or more layers of Hard as Nails or a coat of UV resin.
N.B. For slow sinking versions substitute dubbed mole or dark hare’s ear for the
‘head’ and rib with open turns of red flexifloss.

- Tungsten Bead, Red Wire & Holographic Tinsel Buzzers

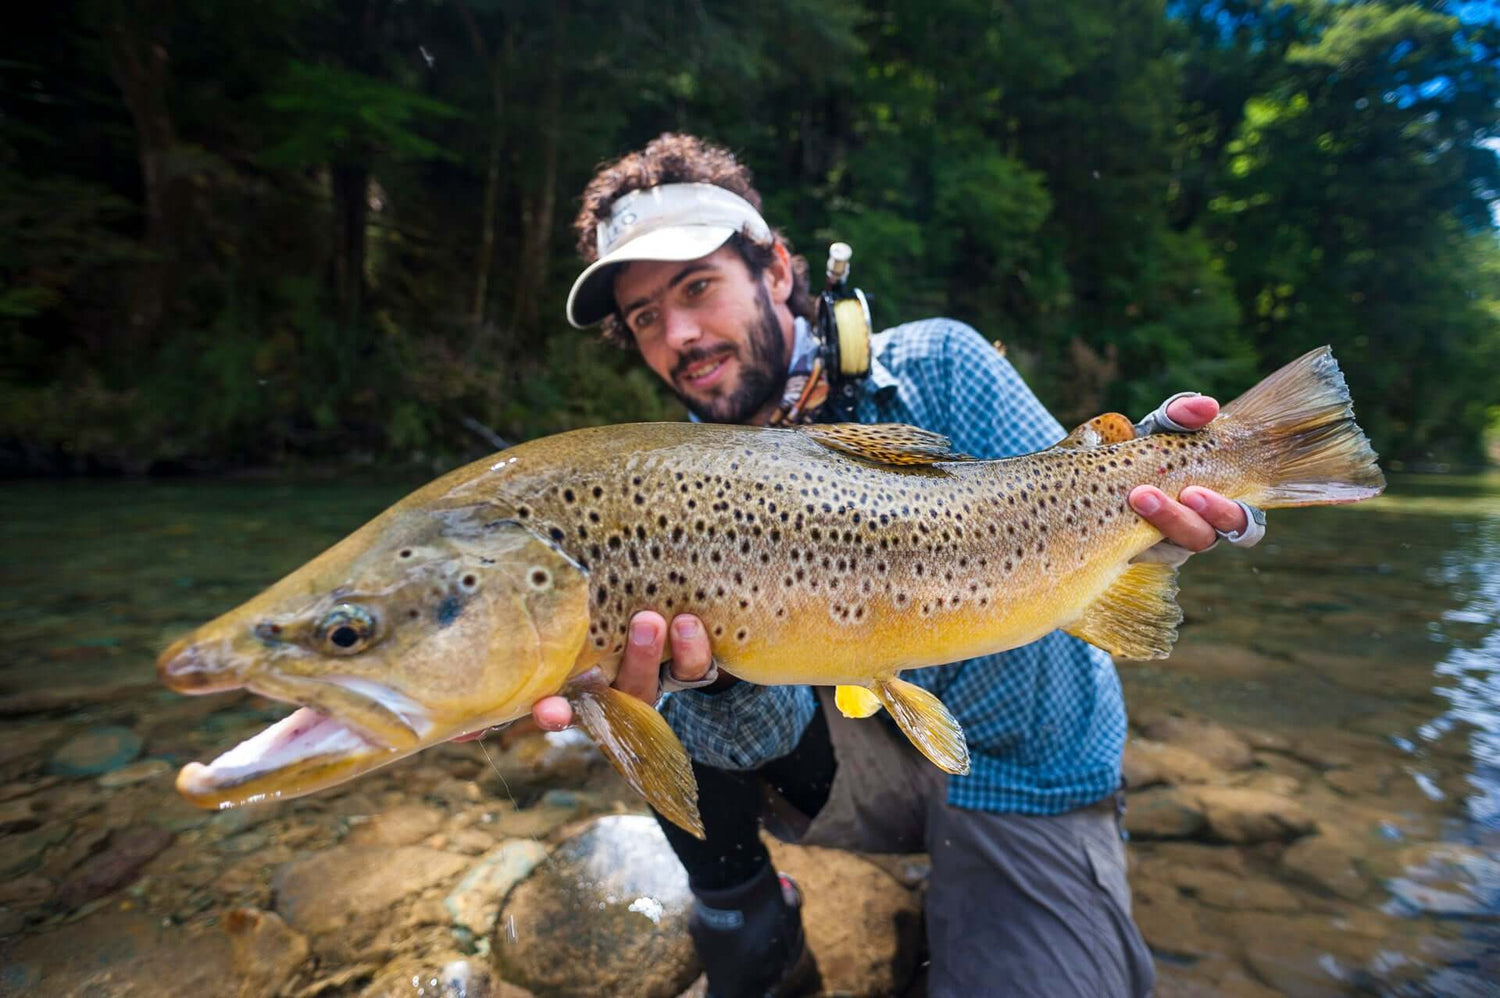
- A big Star Carr rainbow taken on a Red Tungsten and Wire Buzzer

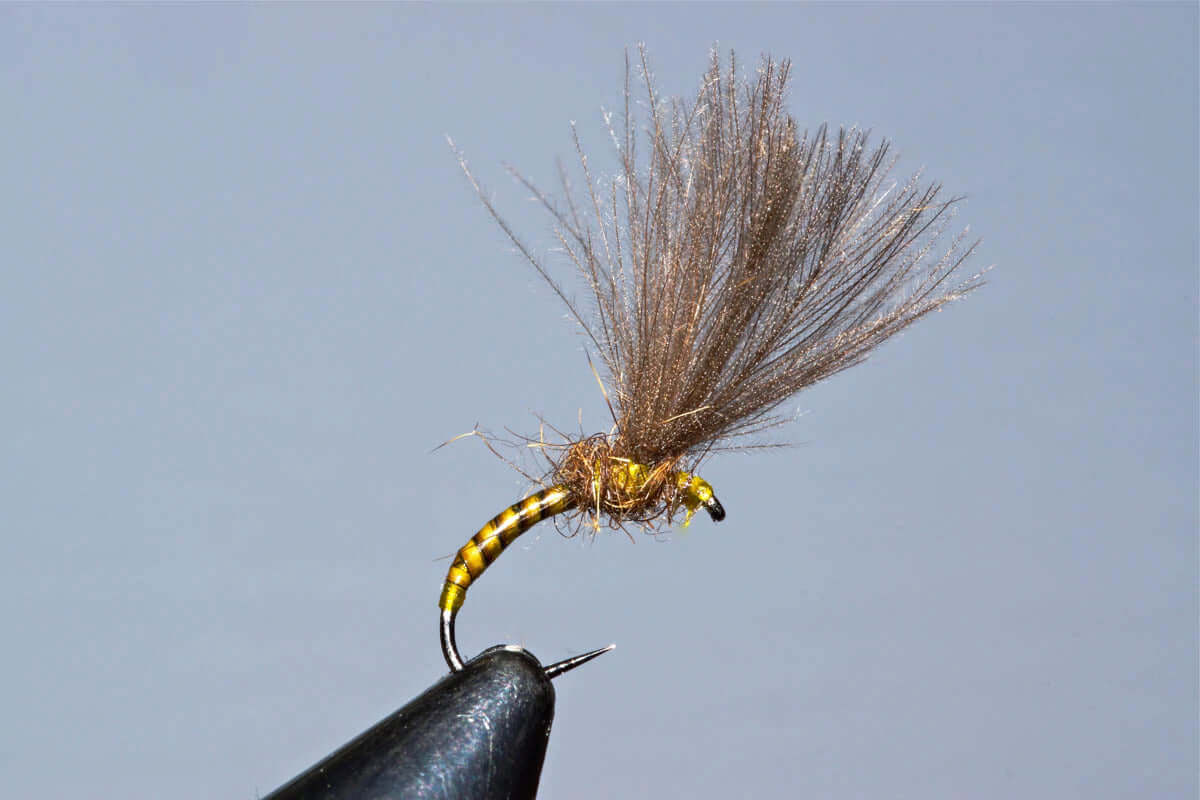
- Size 26 Wire Buzzer

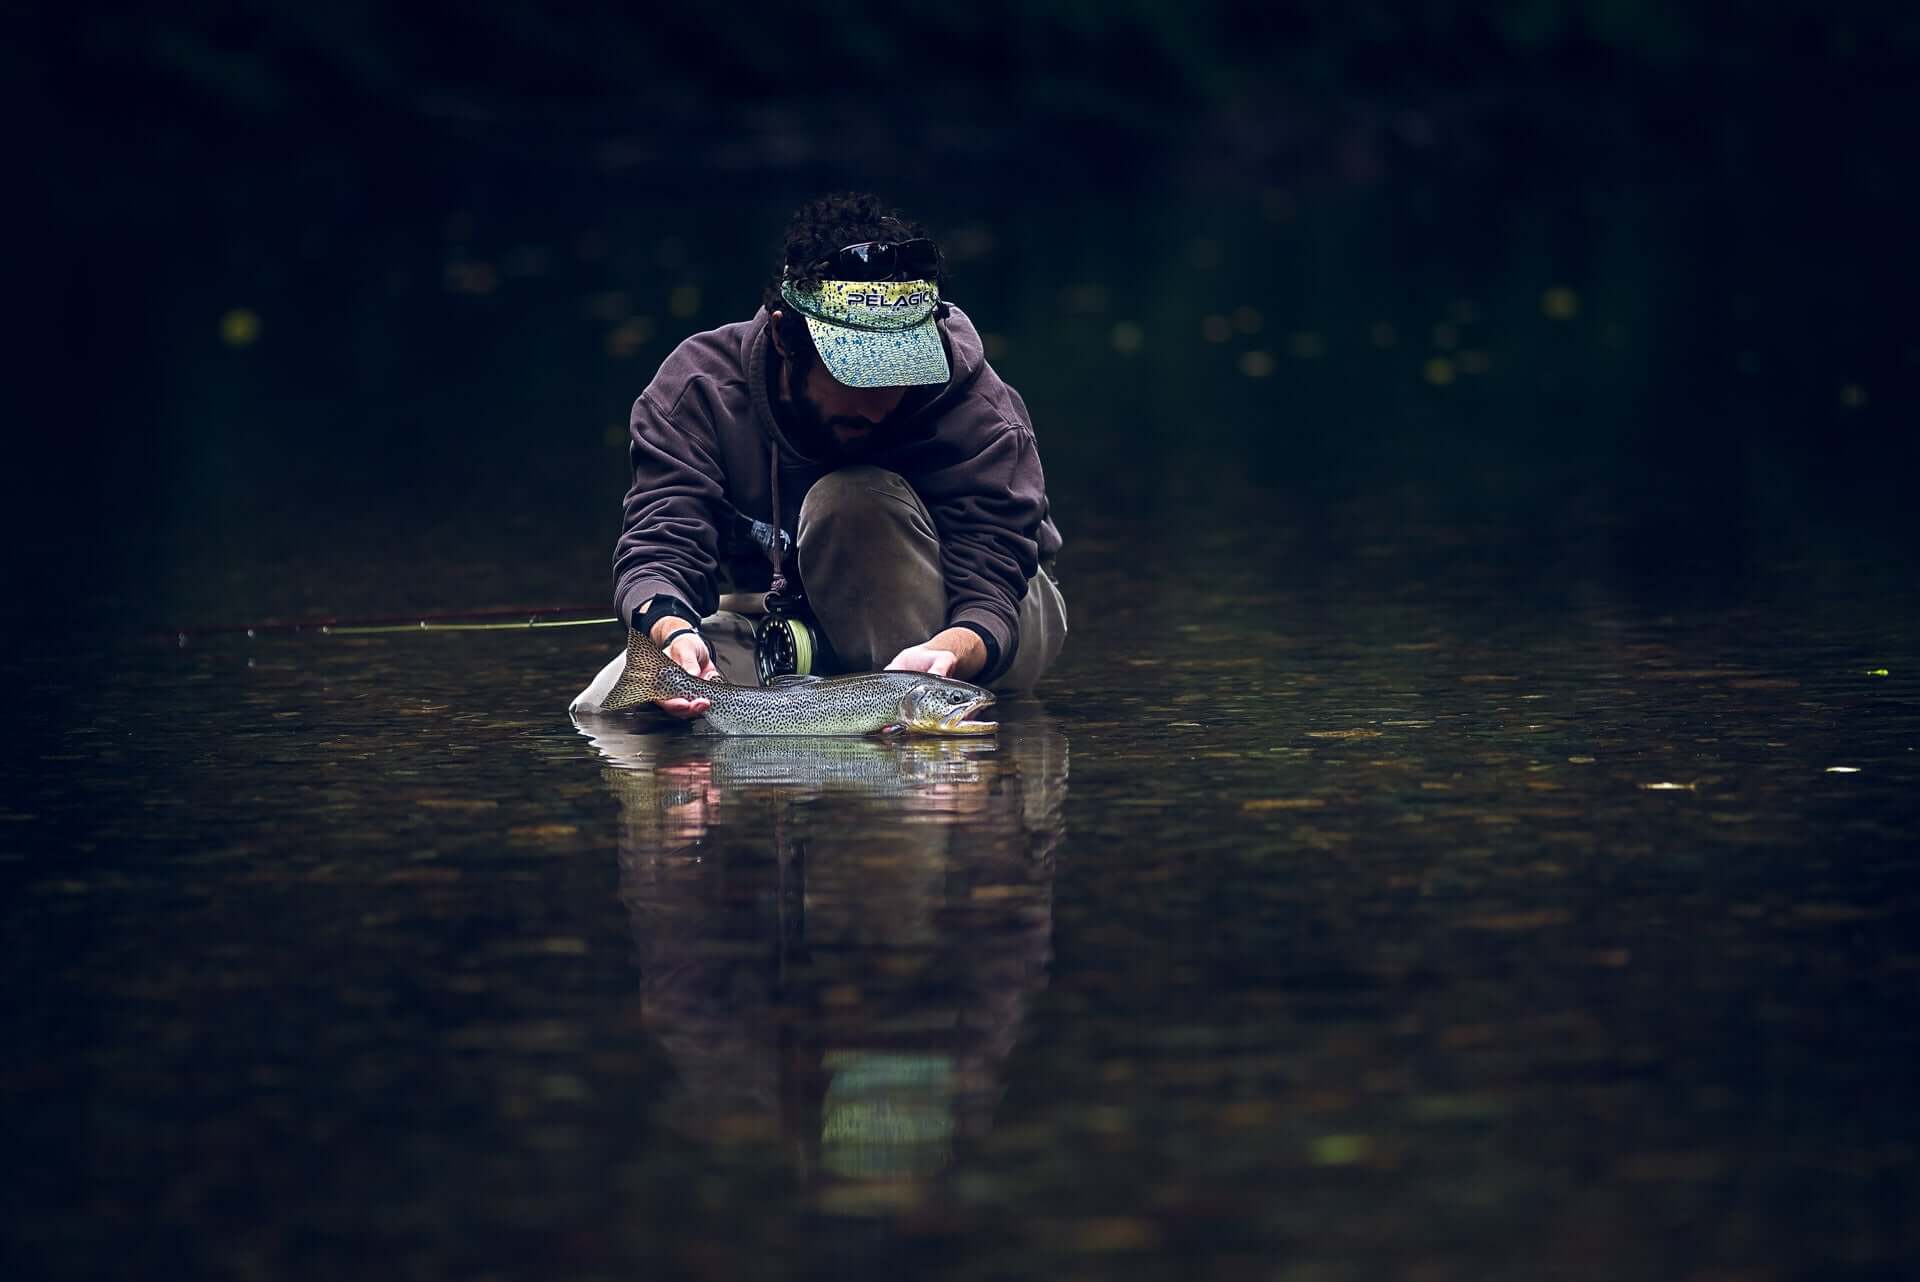
- Wansford Lake Rainbow caught on a size 24 Tungsten Bead & Wire Buzzer


